My name's Ella and I run Quinn's Pins. An online accessories and stationery store based in the UK. As someone who became a huge fan of collecting enamel pin badges in my early 20's and had a love for design, I decided to start creating my own enamel pin badges.

I learnt how to make enamel pin badges back in 2018 I designed my very first pin badge, the Brie Happy Enamel Pin Badge and worked towards gaining customers and creating my own website and Etsy store to help advertise my first ever product!
To help my new found business grow, I reinvested every penny from every sale I made back into the business and soon designed another enamel pin. This hard work, creativity an determination continues on to today, when I now have a full time online store where I continue to design all of my products in my home studio.

If you're looking for some unique gifts for friends and love to shop small, I'd absolutely love it if you checked out my store. I not only have a range of enamel pin badges, I also design other products such as many cool keyrings, cute notepads, home decor and much more.
If you've been wanting to make enamel pin badges and just aren't sure exactly how to do so, continue reading to find out the exact process I took to a full time product designer creating enamel pin badges, keyrings and stationery...
What Are Enamel Pins?
Enamel pin badges have become a very popular fashion accessory in recent years, and for good reason! These small, colorful pins can be used in a variety of ways to express your personality and interests. Here are some of the most common uses for enamel pin badges:


How To Make Enamel Pins
Develop Your Pin Badge Design
The first and most crucial step in learning how to make enamel pin badges is developing your design. Here's how to get started:
-
Brainstorm Ideas: Think about what exactly you would like your enamel pin badge to look like. Whether it's an animal, a relatable phrase, or maybe your logo, your design should be something you or your target audience would love.
-
Sketch Your Design: Start by sketching your ideas. Personally I use Procreate to design all of my products. But there's nothing wrong with a simple pencil and paper. By starting with sketches, it allows you to get all of your ideas out of your brain and onto paper in front of you. Think about what exactly you want your pin badge to look like, try and get a clear design out on paper.
-
Finalise Your Enamel Pin: Once you have a sketch that you are happy with, you can begin to finalise your design. It's up to you how you do this part. If you're familiar with digital design, now is the time to create a clear, outlined design for your enamel pin badge. If a sketch is as far as you feel comfortable with, many enamel pin badge manufacturers are happy to turn your sketch into a digital design, so do keep this in mind and try to get your sketch as clear as possible in order for them to do this.
- Choose Your Colours: Test out colourways and sizing (I usually measure my pins in mm) what type of plating you'd like to use (gold, silver, black nickel etc). What colours will your pin be? Manufacturers use Pantone colours, you can learn more about those here. I find it useful to colour your design as you usually would, then head to a website such as this one to find the Pantone closest to your chosen colour. Alternatively, this is also something your manufacturer will do for you if this is out of your comfort zone.
What Are Pantone Colours?
Pantone colors refer to a standardized color matching system developed by Pantone Inc. that helps designers, manufacturers, and printers accurately reproduce colors. This system is widely used across various industries, especially in fashion, interior design, graphic design, and printing, to ensure color consistency.
Step 2: Choose the Type of Enamel Pin
There are two main types of enamel pins:
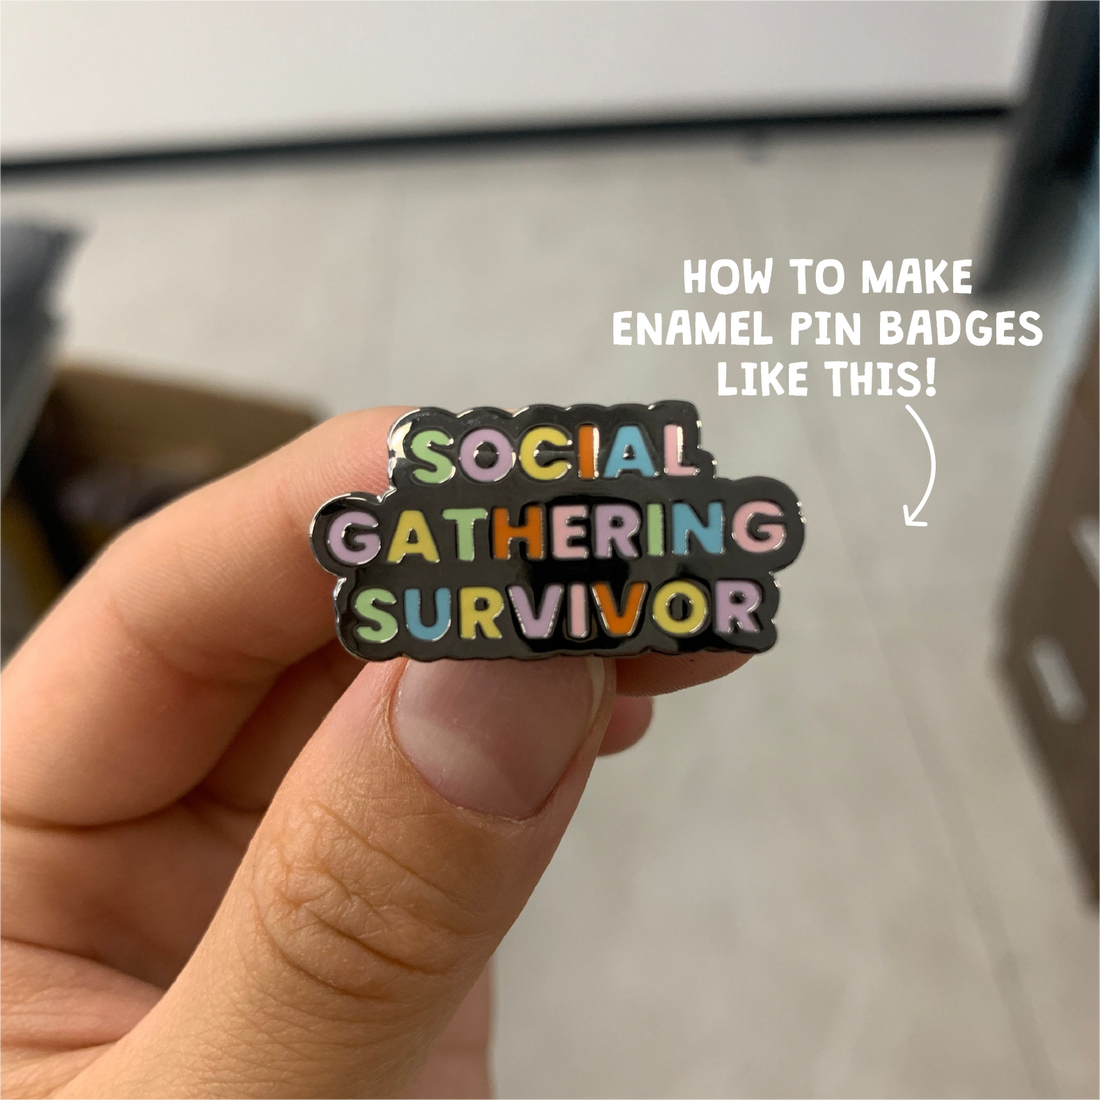
Hard Enamel Pin Badges: These pins are smooth to the touch. The enamel is added layer by layer and polished flat, giving a sleek, durable finish.

Soft Enamel Pin Badges: These pins have a textured surface where the metal edges are raised above the enamel, giving it a more dimensional feel. Soft enamel pins tend to be more affordable and are popular for their tactile texture.

When making your enamel pin badges, It is entirely up to you which style of enamel pin badge you go for. Both are durable and can last a long time, it really just depends which style you prefer and what style suits your design best. It is worth noting that soft enamel pin badges are cheaper to make, so you may want to take this into consideration.
Step 3: Find a Manufacturer
Once your design is ready, you’ll need to find a manufacturer who makes enamel pins badges. Many companies specialise in custom enamel pins and offer a variety of services. If you'd like to know more about finding a manufacturer, take a look at one of my past blog posts here. When selecting a manufacturer, keep the following in mind:
- Minimum Order Quantity (MOQ): Some manufacturers have a minimum number of pins you need to order. Be sure to check this before committing.
- Customisation Options: Ensure they offer the type of pin (hard or soft enamel) and the customisation features you want, like metallic finishes, glitter, or glow-in-the-dark enamel.
- Pricing: Get quotes from several manufacturers to compare prices. Most companies will charge based on the size of the pin, the number of colors, and the order quantity.
Step 4: Review the Proof
When making enamel pins, before production begins, the manufacturer will usually send you a proof of your pin design. This is your last chance to make changes, so review it carefully:
- Check the size, colors, and plating of the enamel pin.
- Ensure that no important details are missing or altered.
- Confirm that any special effects, like glitter or glow enamel, are placed correctly.
Once you approve the proof, the manufacturer will start the production process, which typically takes a few weeks.

Step 5: How Enamel Pins Are Made
Ever wondered how enamel pin badges are made? Here’s a brief overview of what happens during the production of enamel pins:
-
Die Cutting: A custom mold is created based on your design. This mold is then used to cut out the shape of your pin from a metal sheet.
-
Plating: The base of the pin is plated with the metal of your choice, such as gold, silver, black nickel, or copper.
-
Adding Enamel: The enamel (colored glass or resin) is poured into the recessed areas of your design. For hard enamel pins, the enamel is added and polished for a smooth finish. For soft enamel, it’s left slightly raised to create texture.
-
Baking and Polishing: The pins are baked in a kiln to set the enamel, then polished to bring out the shine of the metal plating.
-
Attachment of the Pin Backing: A metal pin post is attached to the back of the enamel pin, allowing it to be worn or displayed.
Step 6: Quality Check and Packaging
When the enamel pin badges arrive, perform a quality check:
- Inspect the design to ensure the design looks correct.
- Check for any defects, like scratches or chips. I usually like to put these aside for a Seconds Sale. A Seconds Sale allows you to sell all of your misprinted/damaged (seconds) products at a cheaper rate.
- Test the pin backings to ensure they are securely attached.
Once you've confirmed that the pins meet your expectations, you can package them. Many creators opt to attach their pins to custom backing cards with their brand logo or artwork, adding a professional touch.

Step 7: Become an Enamel Pin Seller
Now that your enamel pins are ready, you can start selling them or sharing them with your community. Here are a few ways to get your pins out there:
- Etsy: Many enamel pin creators use Etsy to sell their pins.
- Website: Having your own website is a great platform to sell your products, I got my website made from Developer Rocket.
- Conventions and Fairs: Take your pins to local art shows, craft fairs, or pop culture conventions.
- Social Media: Instagram, TikTok, and Pinterest are great platforms for showcasing your designs and reaching a wide audience.
Conclusion
Creating enamel pin badges is a fun, creative process that allows you to turn your ideas into tangible, wearable art. From developing the design to choosing the right manufacturer, each step brings you closer to holding your custom pins in hand. Whether you’re making pins for yourself, your business, or to share with the world, the possibilities are endless.
Gifts for Friends:
If you're looking for a new place to shop online and love to shop small for cute stationery, enamel pin badges and cute gift ideas for friends, I'd love it if you checked out my online store, Quinn's Pins. All products are designed by myself in my home studio and I love to write blog posts like this on how to make enamel pin badges and other products!


